Daniel Anderson
-
Posts
68 -
Joined
-
Last visited
-
Days Won
1
Content Type
Profiles
Forums
Gallery
Everything posted by Daniel Anderson
-
Good bio and Journey aboard

-
If you just want to replace six bolts they came loose by themselves and one was missing on my vehicle. New parts almost $ 60 Ca I have no torque spec. Let me know. I assumed the front of the shaft was removed here.

-
Inner tie rod kit (install)
Daniel Anderson replied to Daniel Anderson's topic in Maintenance & D.Y.I.
I wanted to add to this post: my steering wheel was a little CCW from center. I decided to remove tires and adjust both tie rods. On the left: " out"; on the right: "in"; both were one turn. Upon driving there was a significant movement of the wheel CCW to drive straight. So if your steering is close to center, leave it alone. My hands were in seven and two-three O' clock position on the wheel after adjustment. Probably figure an hour to change again. -
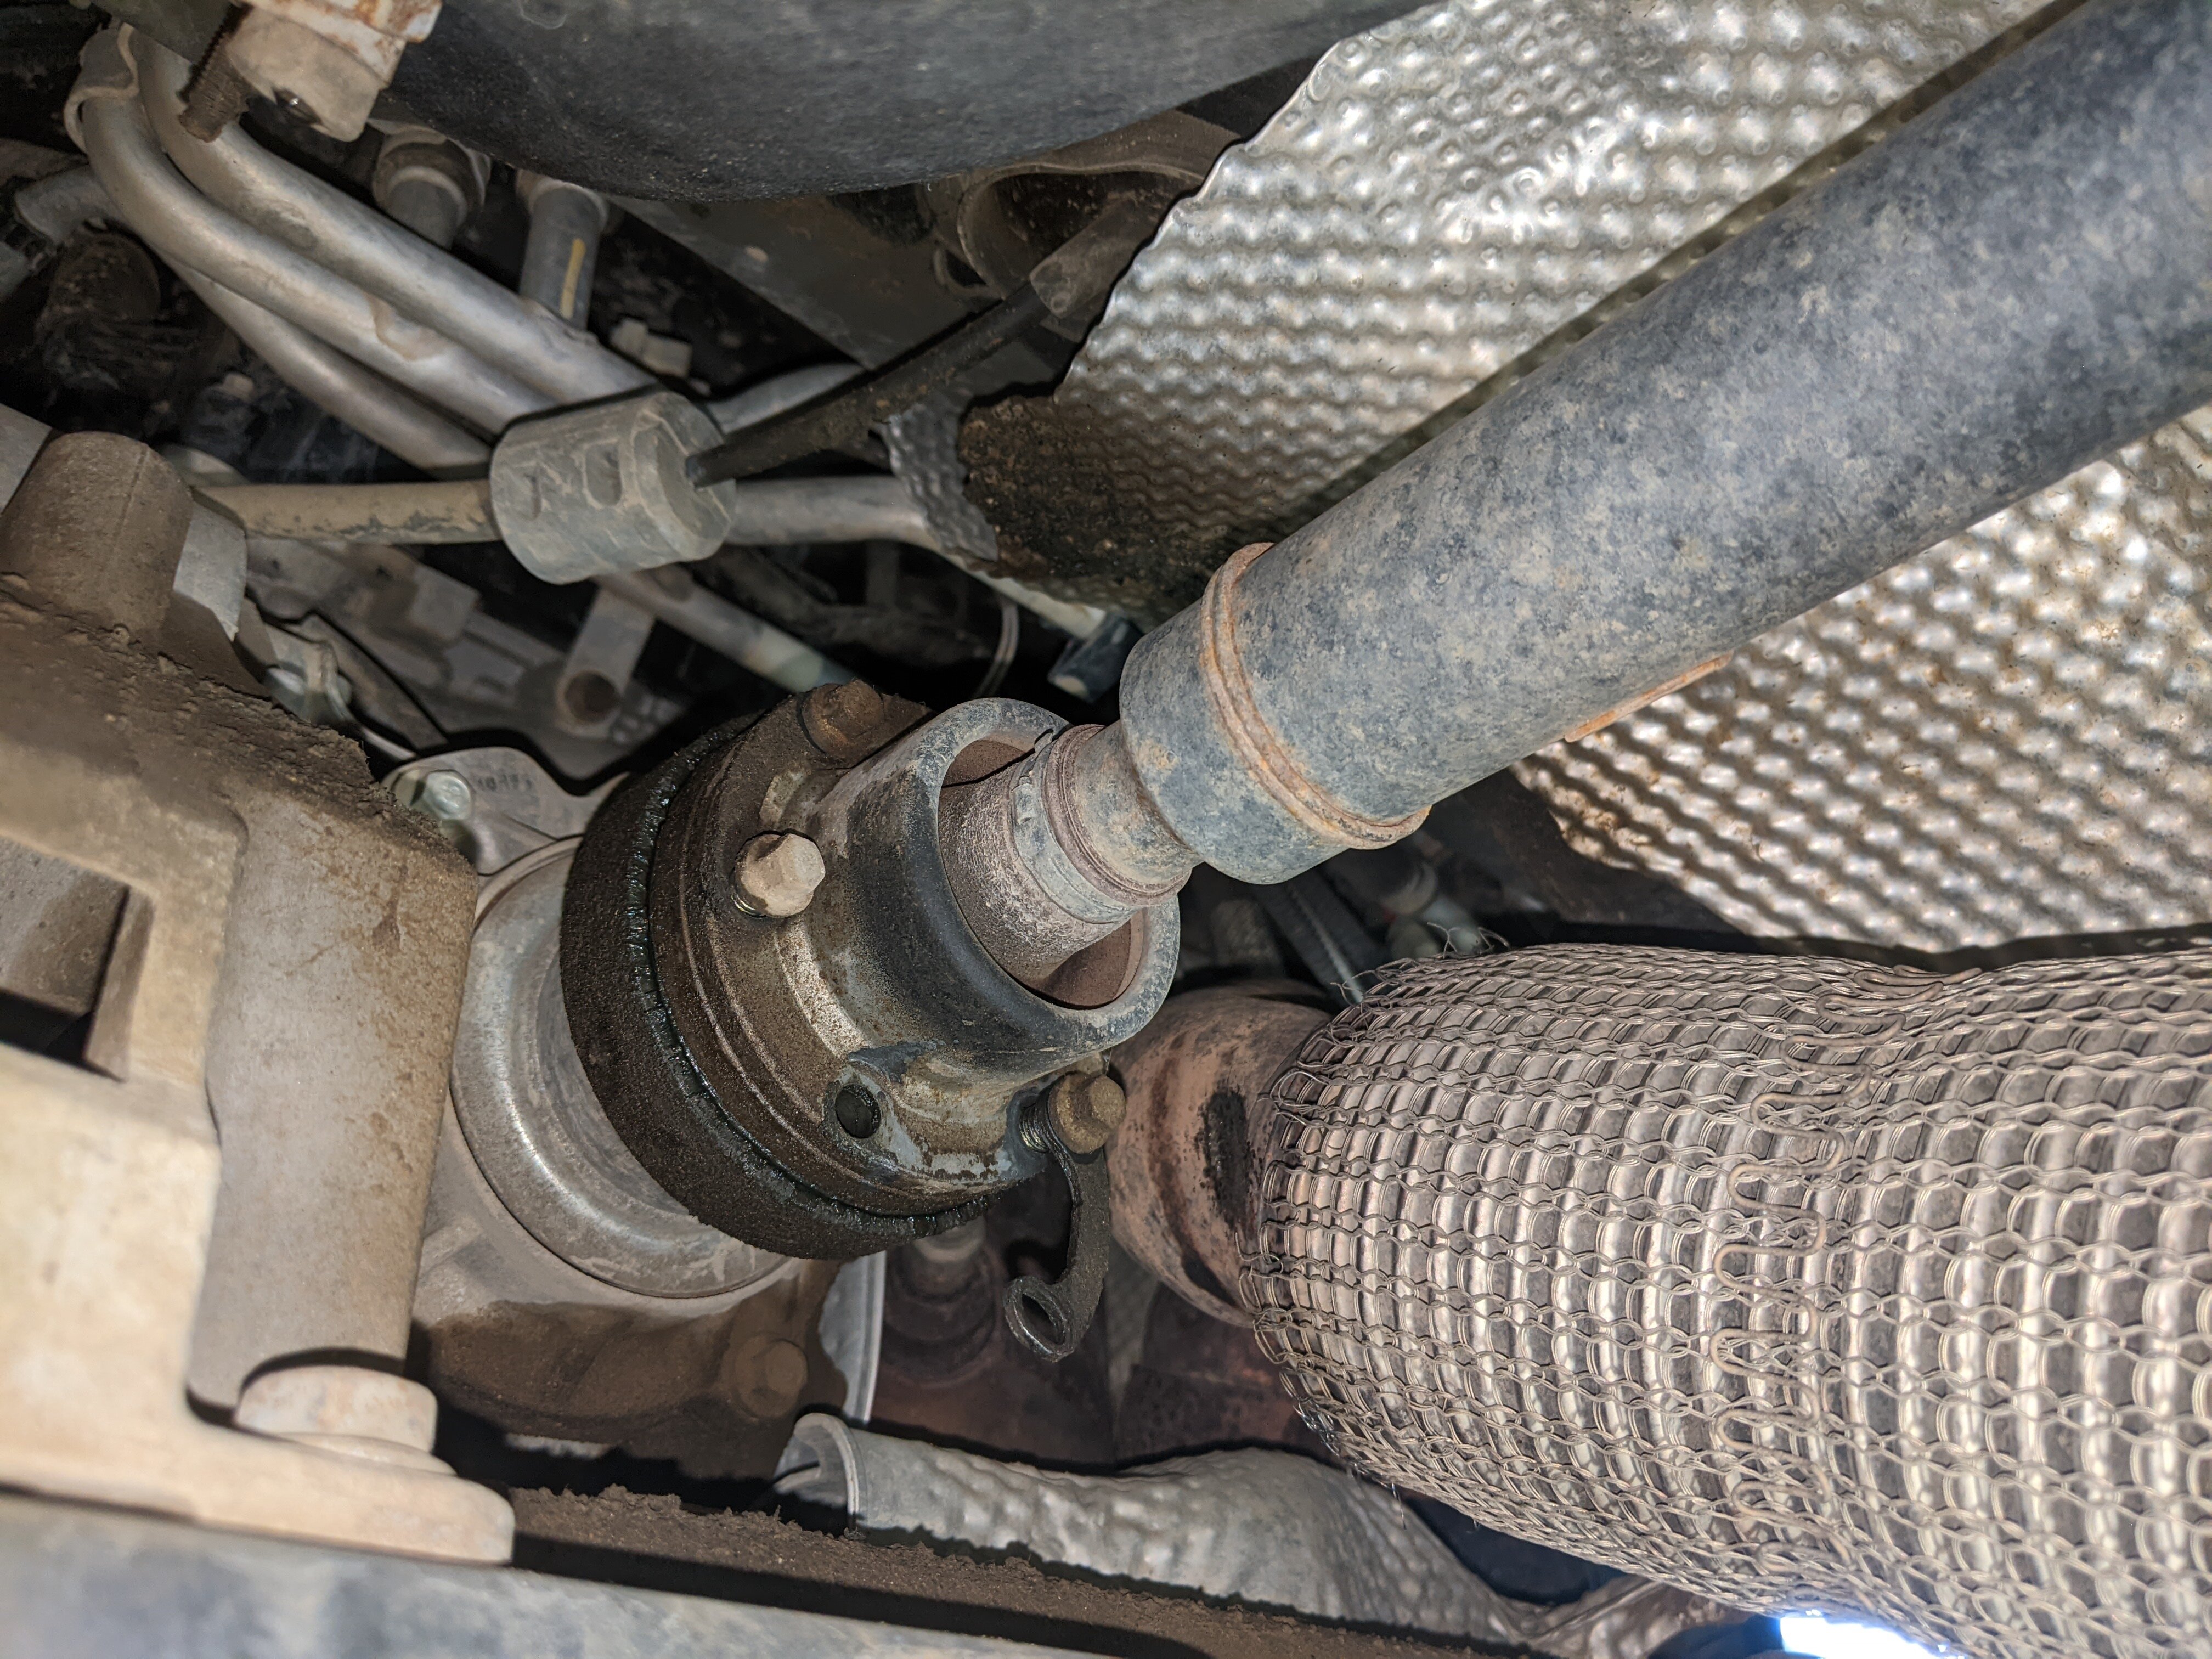
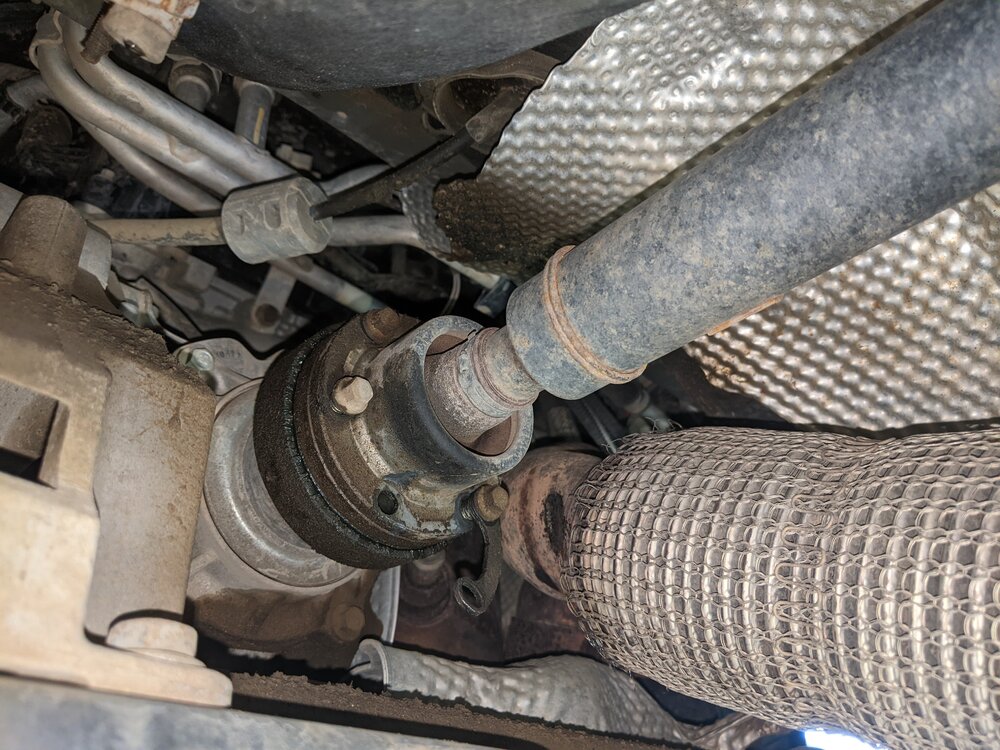
Propellor shaft to PTO unit
Daniel Anderson replied to Daniel Anderson's topic in All Wheel Drive (AWD)
Just box with bolts with blue thread lock already dried on, as well as back off preventer from washers attached (one per two bolts) No instructions. Thanks for the effort. Will talk with Service Dept. Thanks for your guidance as well Daniel sends -
Propellor shaft to PTO unit
Daniel Anderson replied to Daniel Anderson's topic in All Wheel Drive (AWD)
Does 40 ft/lbs seem reasonable for the front propellor shaft bolts each (6 Qty). Reference torque for rear of shaft (several times under driveline/propellor shaft search heading) -
Yours look excellent..Mine did not take well to a leather waist holster I was wearing. Seems to have caused the seat cushion excess wear. I put a gel seat cushion on top now to protect it, but the damage afterwards is quite noticeable
-
Inner tie rod kit (install)
Daniel Anderson replied to Daniel Anderson's topic in Maintenance & D.Y.I.
I have been looking at a inner tie rod and boot removal and install. The mechanic mentioned pinning a castle nut. I am not seeing that on my model and the part on Mopar.ca has the threads covered over to top of part. So how am I to know. Is loctite a good idea or should I replace with the one left from the store. Price is $ 93 dollars Can. funds -
Propellor shaft to PTO unit
Daniel Anderson replied to Daniel Anderson's topic in All Wheel Drive (AWD)
Okay so my replacement fasteners came in the other day. I removed all five remaining bolts using a 3/8" stubby socket handle with socket and universal joint and some extensions. All were already loose. Threads were still good after replacement fasteners were installed. I have peered over the torque specs in Dodge Journey service manual online but have found none for these bolts. Request torque spec from anyone. I removed both front tires and both transmission seals are not leaking. When I checked the right inner tie rod boots it was wrapped over the inner tie rod several times and torn apart from the big band, inside there was dirt and steering fluid suspect this caused the leak. Drivers side inner tie rod boots was also torn apart the inner tie rod boots and inner tie rod socket and knuckle shaft were replaced. Will replace same for passenger side from Mopar parts. Fluid level looks good in steering fluid tank with nothing added for 10 000 Km. -
Inner tie rod kit (install)
Daniel Anderson replied to Daniel Anderson's topic in Maintenance & D.Y.I.
Well I received my parts the other day. So I started on it Friday night for a few hours. The rim came of easily as I earlier replaced OEM lug nuts ( with those crappy covers). The tie-rod end easily came off as well. The boot took some force to pull them off, the clamp end to the steering rack was most difficult as I did not have the proper tool (someone have a part no. for one please) proceeded onwards, there was no steering fluid leaks. The cover was made of rubber (new, Mopar plastic, a disappointment) the Ultra Pro tool made removal of steering inner tie-rod tool (two nine/16" nuts on the end of a U shaped bracket with an inverted T and a square notch for a 3/8" extension) a breeze. The jam nut on the tie rod proved the most difficult to remove and a new one was not included in replacement. A special tool to torque this nut to 60 ft/lbs has not been sourced yet, (any ideas) replacement went well. When I went to passenger side the boot was wrapped around the inner tie-rod several times and torn apart, so replacement is in order. I suspect whomever installed new tires and did steering wheel alignment never bothered to remove inner tie rod boots beforehand. -
Can this be done without hoist and only jack-stands? What would be the procedure step by step ?

-
Driving vehicle home on acceleration hear a noise, assume it's rear end, sand in rims being the cause or missing weights on tire rim. Vehicle body (or tires) vibrate above 93 Km/HR. (Pavement is new in three layers). The culprit is these bolts backed off or missing. A new kit is available. How would a vehicle do this (150 000 Km) anybody think of a cause. Will a new kit install solve this issue or is this tip of the iceberg ? Rear end inspection did not see anything wrong.
-
radiator replacement 2015 Journey Radiator Removal
Daniel Anderson replied to rrb6699's topic in Maintenance & D.Y.I.
I was able on mine, remember to remove freon hose bracket bolt that supports hoses going to condensor, this will give additional room (to forward to front bumper fascia) so radiator can be removed. -
So I was wondering why I heard a ticking sound in the engine bay while working on getting access to removing radiator. When I finally stepped back from front fascia I noticed both front lights were flashing. The car doors were locked. So I decided to just disconnect the one battery cable to make it stop temporarily till engine is back in service with repaired Radiator tubes Daniel
-
Got the radiator out. Mother's assistance appreciated to lift it up as I kept any snags out of the way, (bottom rad rubber hose and transmission coolant lines (bracket) Keeping condensor straight up and down too. Knowing the freon lines did not have to be opened up (high and low pressure line bracket holder has 10mm bolt that can be removed)to bring condensor forward was a plus
-
Hi there What do you like about the GT model
-
Hi Johan I purchased a black coloured 2015 Dodge Journey Crossroad AWD and am very happy with it on winter snow tires. The paint looks great when after detailing it Daniel sends
-
Dodge Journey service manual 2009-2011 and 2012-2016
Daniel Anderson replied to mojo's topic in Maintenance & D.Y.I.
Found Headliner removal location in service manual provided.(page 1526) How do you go about removing the plastic trim pieces so I do not damage them. DVD player was not mentioned in removal or installation process -
Dodge Journey service manual 2009-2011 and 2012-2016
Daniel Anderson replied to mojo's topic in Maintenance & D.Y.I.
:Drop down the headliner as necessary to gain access to the drain hoses (Refer to 23 - Body/Interior/HEADLINER - Removal) . 1. 2. Disconnect the front hoses (2) from the sunroof assembly (1). 3. Release the support clips (3) and disconnect the lower grommet and remove the hose. Disconnect the rear hoses (2) from the sunroof assembly (1) and release the support clips (3). 4. 5. Separate the remaining support clips (1). 6. Disconnect the grommet (2) from the body (3) and remove the rear hoses as necessary. (Page 2230)Dodge Journey Service Manual 2012-2016 by Mojo, Jul 31, 2022 in Maintenance and D.Y.I. -
Dodge Journey service manual 2009-2011 and 2012-2016
Daniel Anderson replied to mojo's topic in Maintenance & D.Y.I.
Enjoyed the chapters in this service manual however I have not been able to find the page other then where: "the headliner is dropped to the seats" in a step by step process 23- Body/Interior HEADLINER-removal/ Typing "Headliner" I get over 200 pages to check I'm asking, are both sun shields, four ceiling hand grips, plastic covers at A pillars, . . . ,headliner console, DVD screen console, headliner vents removal seems alot to remove to replace four sunroof drain tubes that I suspect are either frozen with water/dirt and plugged and back up water into Map light console. Daniel -
I was wondering what size those old fasteners were. Two Missing on my vehicle.. I also have a gaping license fastener hole. Do you have any part Number for rubber inserts and screw Daniel
-
Fiber glass I assume (tailgate) Off to the car wash. Thanks fella's
-
Day Time running lights
Daniel Anderson replied to Daniel Anderson's topic in Electrical, Battery & Charging
Apparently... Surprised the Daytime Running Lights were not included on Uconnect screen 8.4 under lights. It takes two to check this one. Someone mentioned work in Drive so that got me thinking take it to dealership so they could check. Thanks for your advice. In the future I will see if this data from provided video on Uconnect 8.4 screen can be activated. Thought I never had it as there was nothing on my Uconnect Screen 8.4 about DTL switching as the video showed and said there was, hence my denial of it. Cheers mate Daniel sends -
My video of wiper movement unable to post of one sweep (too big, above 10 mb)
-
Mine stops short of cleaning the whole window by 30 degrees. Should this require corrective maintenance Request Repair Facility or DIY answers