SeoulJourney
Journey Member-
Posts
40 -
Joined
-
Last visited
Content Type
Profiles
Forums
Gallery
Everything posted by SeoulJourney
-
Puddle light installation help
SeoulJourney replied to SeoulJourney's topic in Glass, Lighting, Mirrors, Sun Roofs & Wipers
Not going with the dome supervisory wire, I don't think I'll get the "fade effect" I'm looking for. After doing a cursory inspection today, I see airbags in both the A and B pillars. Without a diagram, I don't want to just start popping off panels because of the airbags. Anyone know where to start popping the panels off? I think this weekend I'll pop out one of the dome light brackets and see what direction the wiring goes. It's a start... -
Puddle light installation help
SeoulJourney replied to SeoulJourney's topic in Glass, Lighting, Mirrors, Sun Roofs & Wipers
@Jkeaton I saw in your post on dodge forums you asked this question exactly. http://dodgeforum.com/forum/3rd-gen-dakota/260260-interior-dome-light-wiring.html I wonder if the location is the same because I'm going for the same effect. I think I need to tap directly into the dome light and not the supervision wire to get the right effect. -
Puddle light installation help
SeoulJourney replied to SeoulJourney's topic in Glass, Lighting, Mirrors, Sun Roofs & Wipers
@PowerZ69 Thanks for the link. You posted the wiring diagram for the 2011. I searched and found the one for my 2010. http://www.commandocaralarms.com/wiring/2009-2010/dodge/journey/628.html It looks like I can go through either the driver's A-pillar or TPIM in the engine bay. I'll test with a multimeter before I splice any wires. Hope I don't blow anything! -
Puddle light installation help
SeoulJourney replied to SeoulJourney's topic in Glass, Lighting, Mirrors, Sun Roofs & Wipers
I haven't be able to find a wiring diagram anywhere. I'd hate to do some probing without some sort of guide. I'm going to install the lights underneath the side skirt and hook it up to the dome lighting. That way, when you unlock the doors, the ground lights up as well. It's the poor man's version of what you see on the higher trim Mercedes GL SUVs. -
Does anyone know where I would tap into the the dome lights to install puddle lights on my 2009 SXT? I'm familiar with the general installation procedures (like those on youtube) but none are specific to the Journey. Here's a link to the puddle lamps for more info: http://store.ijdmtoy.com/Brabus-VIP-Style-LED-Puddle-Undercar-Lighting-p/50-068.htm
-
Check These Out!
SeoulJourney replied to DJSXT14's topic in Glass, Lighting, Mirrors, Sun Roofs & Wipers
Honestly, this is not a bad deal considering that you get LED running lights, angel eyes, and projectors all in a custom built headlight housing. It is possible to get it done yourself with higher quality projectors, however, they will likely use a proprietary HID bulb and not a standard bulb like the H7 they have listed. The Retrofit source has bi-xenons for $270 and the cheapest headlight housings on amazon are $220. That's almost $500 without any angel eyes or the install. The quality remains to be seen but if the price drops then it might be hard to resist. I'll be watching this one. -
Yet another HID post...
SeoulJourney replied to SeoulJourney's topic in Glass, Lighting, Mirrors, Sun Roofs & Wipers
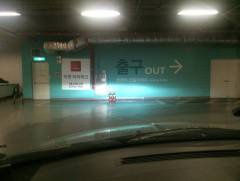
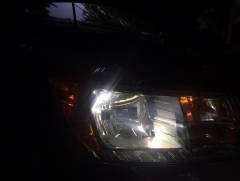
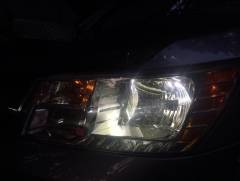
As requested: I did take it out for a long drive and the lights did not seem to be pointed in anyone's eyes. Definitely could see much better than the factory halogens. Obviously a projector retrofit is better but this is a vast improvement. -
SeoulJourney's 2010 3.5L SXT Installs
Images added to a gallery album owned by SeoulJourney in Dodge Journey Member Albums
-
From the album: SeoulJourney's 2010 3.5L SXT Installs
-
Yet another HID post...
SeoulJourney replied to SeoulJourney's topic in Glass, Lighting, Mirrors, Sun Roofs & Wipers
-deleted duplicate post (mobile browser)- -
Yet another HID post...
SeoulJourney replied to SeoulJourney's topic in Glass, Lighting, Mirrors, Sun Roofs & Wipers
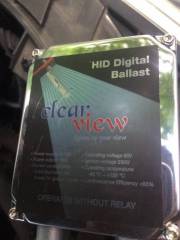
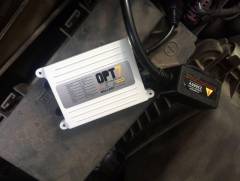
Not a lot of problems, just one. I haven't taken a look at DDM's ballast, but I opened the OPT7 ballast up and inside they are properly silicon sealed. This is typically indicative of a higher end ballast. Although the one i received was defective, this is likely outside the norm. -
Yet another HID post...
SeoulJourney replied to SeoulJourney's topic in Glass, Lighting, Mirrors, Sun Roofs & Wipers
I'll try to find a good spot. We have a long weekend coming up. -
Yet another HID post...
SeoulJourney replied to SeoulJourney's topic in Glass, Lighting, Mirrors, Sun Roofs & Wipers
Correct. It was either that or put the halogens back in (never again). From the driver's seat and up close, you can tell a slight difference in color. The 55W ballast produces a whiter light. Ironically, using the 35W ballast produces a slighty bluer light. I'm sure this affects luminosity but from a drivability perspective you don't really notice it. -
my MODtacular May extravaganza - VERY pic heavy
SeoulJourney replied to Darkpaw's topic in Accessories, Modifications
Are those remotes built into the Soundstream amp? I don't think my wife would like me putting in a 12" Solobaric in her car and a 1000w amp, but my car needs to upgraded past my existing 200w Infinity Basslink. The best part about the Basslink is the remote amp control. How is yours set up? -
Yet another HID post...
SeoulJourney replied to SeoulJourney's topic in Glass, Lighting, Mirrors, Sun Roofs & Wipers
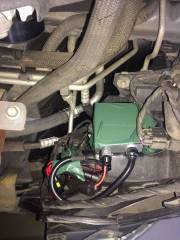
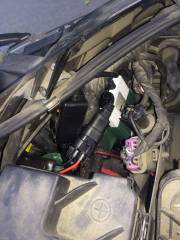
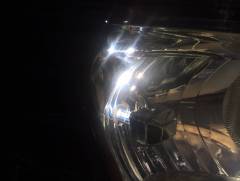
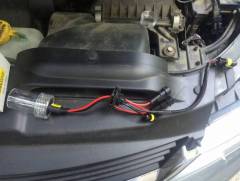
Finally got them in and installed! It was not fun. I'll try to share my experience so others can benefit and decide to install them for themselves. Here goes... Box arrived and it was professionally packaged in one OPT7 box. Nothing fancy, but everything was secured. I'll save you the unboxing pics but you can see it on the link I provided earlier. This is what EXACTLY came in the box. 2 x ballast 2 x bulbs / wires 2 x capacitors 2 x mounting brackets 6 x small white zip ties 4 x small nut/bolts 1 x capacitor instruction sheet 1 x instruction sheet for general install Missing: 1 x relay After reading through the comments it seems that they don't include the relay but if you ask they will send it free of charge. Not good to find out when I'm receiving the goods overseas. I won't give you a step-by-step on the install. I'll just highlight some of the key points. First, I tested the battery side first (as the instructions tell you to do) w/ out the capacitor. The instructions tell you that you must have the correct polarity on the capacitor or you will blow it. Previous installs using car audio capacitors verified this statement. Key point # 1: The OEM headlight harness needs to be installed in reverse. The harness will not CLIP onto the ballast. You will need to secure with electrical tape. (It even says to do this in the troubleshooting steps. Anyway I hit unlock on the keyfob, a little flicker, and BAM it's on! This verify's what HIDextra's website (which incidently, is referred to in the OPT7 manual) says about not needing capacitors in 09-13 Dodge Journeys. Anyway, I started it up and turned on the headlights.... Nope. Welcome to CAN-BUS. But contrary to popular belief there was no light out message on my dash. I might add that I don't have the EVIC option on my SXT. Keypoint #2: You need to install capacitors or the lights won't turn on when the engine is on. Keypoint #3: Black is ALWAYS NEGATIVE! We don't have any red wires when installing the capacitors, but as long as you match up black to black, then you should be ok. Next problem: I received a defective ballast. I troubleshot this by switching everthing but the ballast, and tried on both sides. Definitely dead. Fortunately, I had a Kensun 35W digital ballast laying around. It did the trick until OPT7 mails me my replacement. Here's what it looks like installed. I used the double sided tape and put some more duct tape to secure it to the side of the headlight housing. And the temp install until I get my replacement ballast. And here they are on and the cutoff: Not a bad upgrade. I haven't driven it yet, but viewing them from the outside at night (sorry no pic) I have to say that they are BRIGHT AS HECK! I definitely would not recommend these in places where you actually can get pulled over by police. Hopefully this helps some of you out. Please let me know if you want more details. -
From the album: SeoulJourney's 2010 3.5L SXT Installs
-
From the album: SeoulJourney's 2010 3.5L SXT Installs
-
From the album: SeoulJourney's 2010 3.5L SXT Installs
-
From the album: SeoulJourney's 2010 3.5L SXT Installs
-
From the album: SeoulJourney's 2010 3.5L SXT Installs
-
From the album: SeoulJourney's 2010 3.5L SXT Installs
-
From the album: SeoulJourney's 2010 3.5L SXT Installs
-
From the album: SeoulJourney's 2010 3.5L SXT Installs
-
From the album: SeoulJourney's 2010 3.5L SXT Installs
-
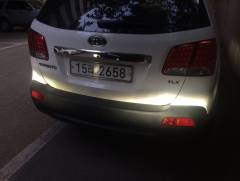
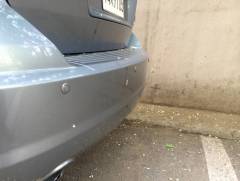
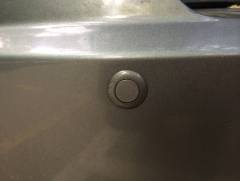
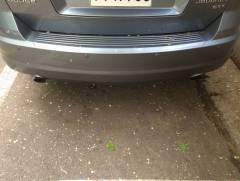
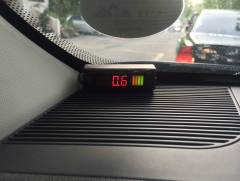
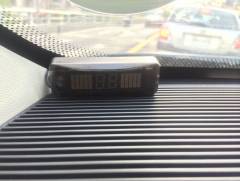
The backup camera on my 2010 offers limited visibilty to the rear bumper edges. Had these aftermarket sensors professionally installed and wanted to share. Link to my album: http://www.dodgejourneyforum.com/gallery/album/223-backup-sensors/


