Journeyphenia
Journey Member-
Posts
65 -
Joined
-
Last visited
-
Days Won
6
Journeyphenia last won the day on July 6 2022
Journeyphenia had the most liked content!
About Journeyphenia

Profile Information
-
Region
U.S. Pacific Coast
-
Journey's Year
2015
-
 Armando G reacted to a post in a topic:
7 years without brake change
-
 johanbrandon reacted to a post in a topic:
Crossroad lower fascia painted
-
I suspect the noise is very slight movement of the hinge plate against the body. On mine, sometimes lube at the detent helped and sometimes not. Sometimes penetrating oil behind the hinge plate got rid of the sound.
-
Try penetrating oil behind the hinge where it meets the body. Also continue to lube the detent and roller.
-
My best guess is that the door hinge plate moves slightly and rubs the body when the door is swung and that slight rub causes the groan noise, in my case more of a pop and groan, between the two surfaces. On my 2015, it's mostly when closing the door. I've lubed everything with some success. I used to think it was the hinge detent moving on the pivot point that needed lube. I used lithium grease and that helped sometimes to eliminate the noise. Sometimes, I only lube the body to hinge plate contact with penetrating oil and the noise also goes away, sometimes, it's a combo of both that works. The noise only happens on my car during colder seasons.
-
 2late4u reacted to a post in a topic:
"gate" message on dash display
-
 John/Horace reacted to a post in a topic:
"gate" message on dash display
-
 John/Horace reacted to a post in a topic:
"gate" message on dash display
-
"gate" message on dash display
Journeyphenia replied to wrenchpro's topic in Electrical, Battery & Charging
-
"gate" message on dash display
Journeyphenia replied to wrenchpro's topic in Electrical, Battery & Charging
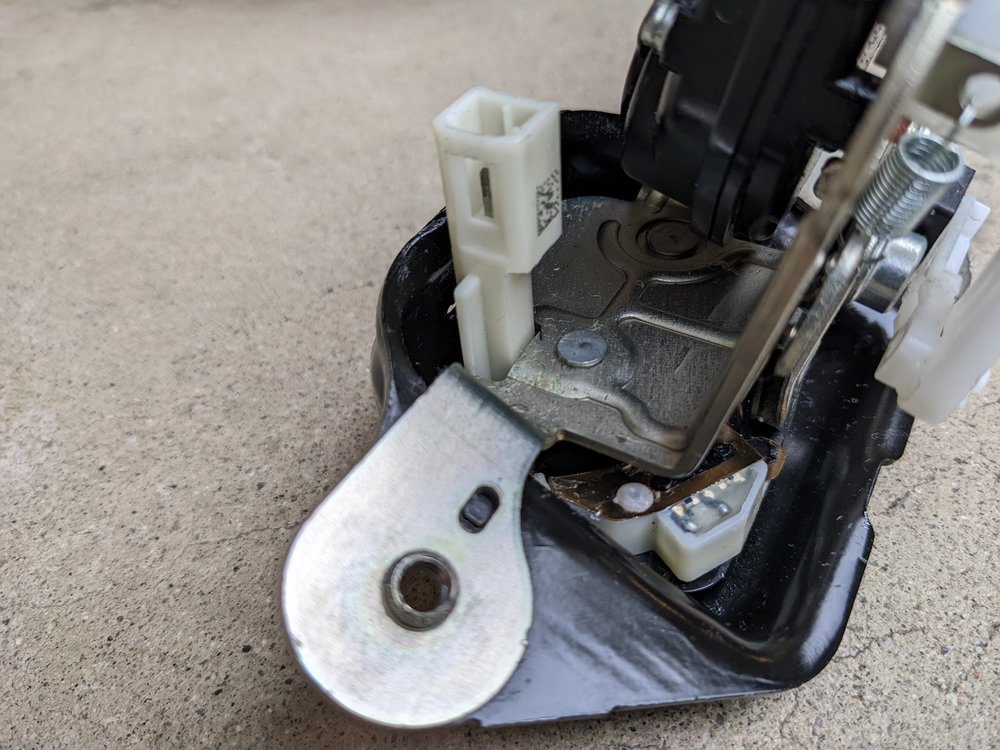
For anyone looking for solutions to a "liftgate open" dash warning with it closed, the most likely cause is the relay/switch in the latch assy.. If that's not it, as others have mentioned, look for a damaged wire going into the liftgate and check the wires of the 2 wire plug into the latch switch. That plug wire touches a metal edge of the liftgate and should be taped over from the factory but if not, wrap it before you finish up. If it's not a wire issue, as far as I can tell, there's no fuse for that liftgate relay/switch. The switch is an integral part of the latch assy. so you'd need a new assy.. You could live with it and remove the connector at the switch but when you keyless unlock, the system will re-lock if you only open the liftgate, you will have to open a side door to prevent re-lock. If replacing the latch assy., the 3 bolts have loctite from the factory but the two bolts attaching for the interior plastic panel didn't on mine and they were a little loose so loctite those also. The part is about $135 on RockAuto and it's about 30 minutes to change out. -
7 years without brake change
Journeyphenia replied to thabanga510's topic in Brake, Chassis & Suspension
2015 v6 fwd has 110k with orig brakes. The rear brakes are about done, another 10k guess? -
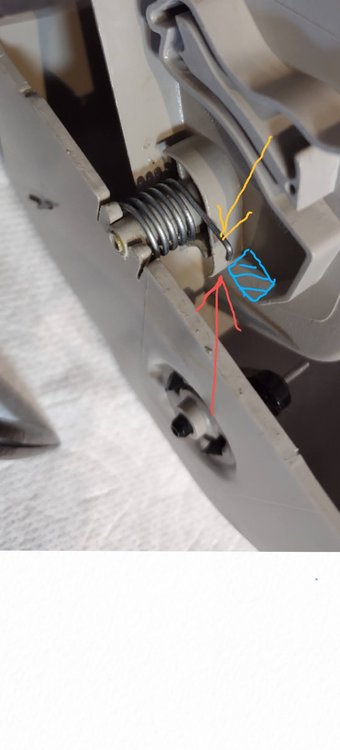
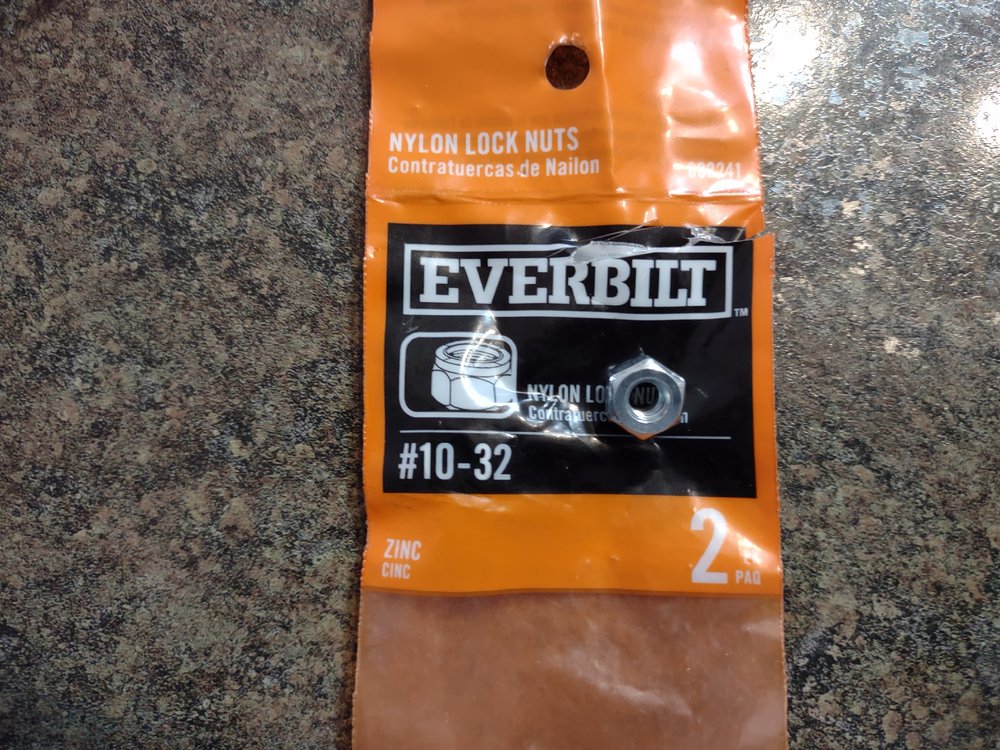
The sunglass holder, in my 2015 Crossroad broke. There was no more spring action because the spring moved from behind it's set position. It was still under warranty so Dodge fixed it but a new one would be expensive to purchase so here is a fix. The issue is likely the thin plastic edge, that the spring rests behind, isn't strong enough and cracks. Once it cracks, the spring jumps out of position. I fixed this by adding a nut in between 2 points(blue) and used gorilla glue to secure the nut. In the photo you can see the spring edge (yellow)before it is placed back behind the plastic edge(red). Getting the console out of the ceiling is fairly easy. There are six locations where it's pressed into the headliner. You want to carefully pry that off and then remove the two electrical wires for the map lights. Putting it back on is a little more difficult. I think Dodge places that console into the headliner before they install the headliner. If you try and press the console back into the headliner there's too much give in the console, it flexes too much to press the console in. I used a couple rolled up pieces of cardboard behind the headliner to give it the rigidity to be able to snap the console back up. I would suggest using foam blocks or something similar to place behind the headliner so there's a backing so you can snap the console to the headliner. Good luck!
-
2013 R/T to receive new high performance suspension
Journeyphenia replied to EBK's topic in Brake, Chassis & Suspension
Forget the portion of my last post with regards to the Moog polyurethane sway bar bushing for the 27mm front sway bar. That was a lot of altering of the Moog bracket to get it to work and this April the bracket broke while exiting a driveway at low speed. The Moog bracket is junk. It's a thinner metal and is formed from flat material. The Mopar is hard steel formed from curved material to add strength. I found that the Moog K200219 is a direct polyurethane replacement to the Mopar rubber bushing. The Moog fits into the Mopar bracket so no altering is needed. Moog lists it as only fitting 2009 & 2010 but that is incorrect. Wish I had figured this out last year. -
 jkeaton reacted to a post in a topic:
Dodge Journey CR 3.6L V6 AWD looking to install Cold air intake
-
 jkeaton reacted to a post in a topic:
Dodge Journey CR 3.6L V6 AWD looking to install Cold air intake
-
 2late4u reacted to a post in a topic:
Dodge Journey CR 3.6L V6 AWD looking to install Cold air intake
-
 2late4u reacted to a post in a topic:
Dodge Journey CR 3.6L V6 AWD looking to install Cold air intake
-
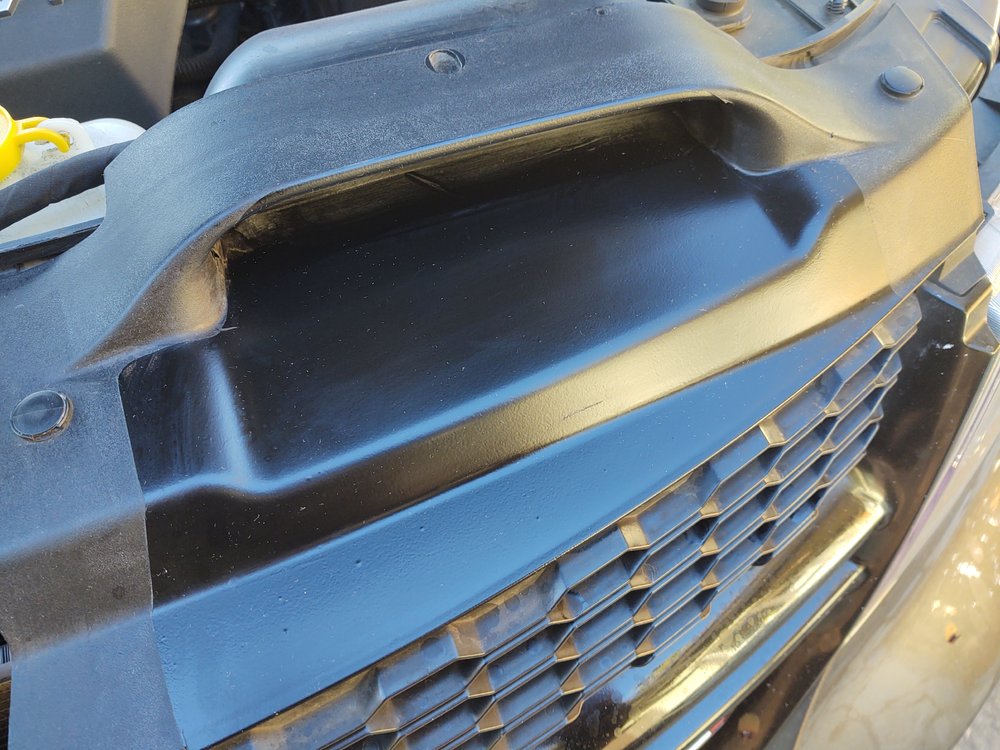
Doesn't the Journey already pull cold air from the grill? I'm not sure how much more power you'd get with changing what you have. I've seen aftermarket products but wonder if the stock design has better results in the lab. I removed the rubber gasket and the push pin at the inlet mouth, auto wrapped from the grill into the mouth, smoothed off rough plastic edges to and beyond the air filter. I also keep the entire air path cleaned and slickened with a dry lube.
-
 Artiflex reacted to a post in a topic:
Crossroad lower fascia painted
-
-
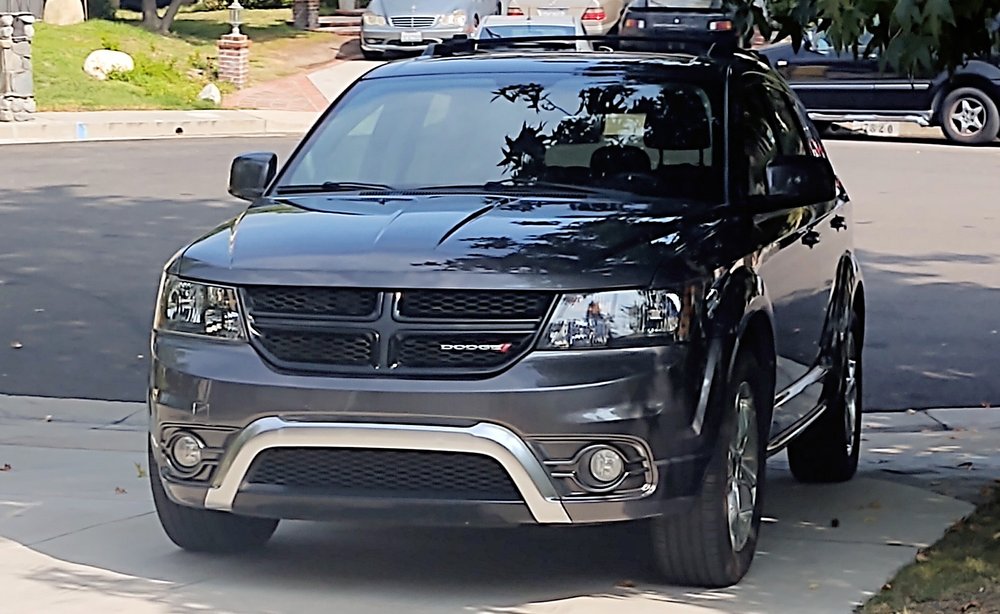
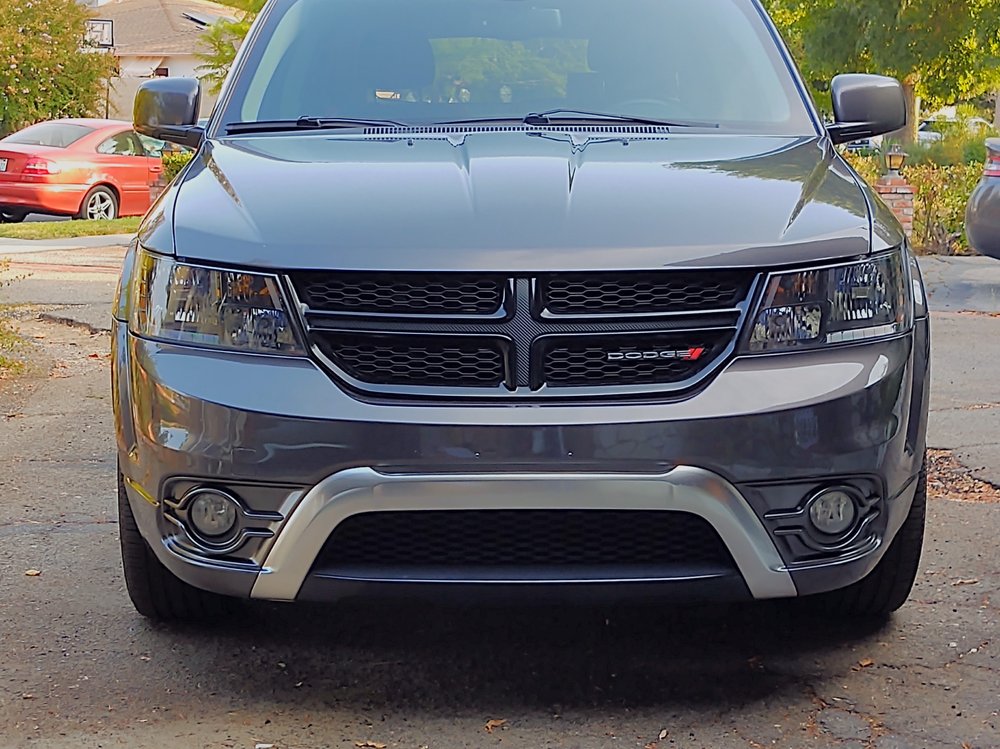
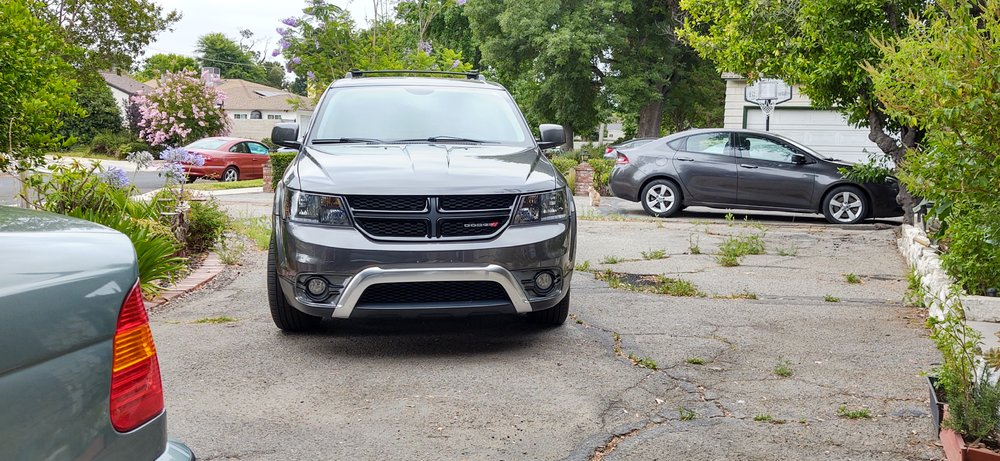
Painted the front lower fascia to match the body color, including the fog light bezels. Added carbon fiber auto-wrap as grill insert. Painted the grill satin black and bottom center fascia applique in satin black and flat black. Will likely change the bottom center fascia applique to all satin black along with the plastic insert strip above the chrome
-
2023 Dodge Journey “SUV Revival”
Journeyphenia replied to Armando G's topic in Articles, News & Reviews
Anything like that and it's bye bye utility -

